

HTTP transports
Sites differ wildly in how hard they are to fetch — plain HTML, JavaScript SPAs, or pages behind aggressive firewalls. The crawler abstracts how a page is fetched behind a transport, selected with:
CRAWLER_TRANSPORT— global default in.env;- the
--transport=flag — also baked into the blueprint; - a blueprint's
http_config.transport.
This page covers the transports themselves and how to configure each one. How the auto transport detects and escalates past WAFs is its own topic — see Bot protection.
The transports
| Transport | What it does | Cost | Use for |
|---|---|---|---|
auto (default) | Tries the cheapest transport, and on a detected block identifies the WAF vendor and escalates to the right stronger transport — then bakes the one that worked into the blueprint. See Bot protection | free* | leave it on; most sites just work |
guzzle | Plain HTTP client (no JS, no anti-bot) | free | normal sites, APIs |
browser | Real headless Chrome via the browserless container (runs JS, real browser fingerprint) | free | JS/SPA sites, soft protections |
flaresolverr | Stealth Chromium tuned to solve Cloudflare / DDoS-Guard challenges, via the FlareSolverr container | free | Cloudflare-protected sites |
scraping_api | A managed provider (ScrapingBee/ZenRows/ScraperAPI/…) that brings residential proxies + anti-bot solving | paid (your key) | the hardest WAFs (Akamai, PerimeterX) |
* auto only escalates to scraping_api when a key is configured; otherwise it stops with an honest message instead of producing a broken robot.
Think of the free rungs as a ladder of effort: guzzle (cheap) → browser (heavier) → flaresolverr (heaviest). Each step up costs you speed and CPU, so you only climb when the cheaper one fails — which is exactly what auto does for you. For a side-by-side speed comparison of the free transports and how the escalation works, see Bot protection.
Self-hosted transports (browserless & FlareSolverr)
Both are optional free Docker services. They are not required to install the package — only when you use the browser, flaresolverr, or auto transports.
Reference demo repo (docker-compose.yml):
docker compose up -d browserless flaresolverr   # start when scraping protected sites
docker compose stop browserless flaresolverr    # free RAM/CPU when done (they run a full Chromium)
Package users (minimal services only):
docker compose -f vendor/datahelm/crawler/docker/compose.services.yml up -d
# or, from a clone of datahelm/crawler:
docker compose -f docker/compose.services.yml up -d
Full stack — use data-helm/enviroment.
Config lives in config/crawler.php (browser, flaresolverr) with env overrides in .env (BROWSERLESS_URL, FLARESOLVERR_URL, FLARESOLVERR_MAX_TIMEOUT). See the Environment variables reference.
Which transport am I using right now?
Whatever CRAWLER_TRANSPORT is set to (and any robot that baked its own --transport overrides it for that robot). guzzle/browser/flaresolverr are all free; only scraping_api costs money.
Waiting for JS-rendered content (--browser-wait-for)
SPAs (Vue/React/Angular) often serve an empty HTML shell and render rows later — a plain fetch, or even a headless browser that captures too early, sees the loading skeleton instead of the data. --browser-wait-for tells the headless browser what to wait for before capturing the HTML, and implies the browser transport when none is chosen:
# wait for a real data row, not the page skeleton
php artisan datahelm:scrap:generate "https://example.com/candidates" \
  --browser-wait-for=".data-table-row"
Accepts a CSS selector or a Puppeteer keyword (networkidle, domcontentloaded, load). Pick a selector that only exists once the data has loaded — a row or a card, not the empty table container (waiting on the container returns the loader). The value is baked into the blueprint as http_config.browser_wait_for, so the generated robot waits the same way on every run.
Proxy rotation
Two independent proxy mechanisms, one per transport family:
guzzle — list proxies in the blueprint's http_config.proxies; they are rotated round-robin, one per request. Use full URLs, credentials included:
"http_config": {
  "proxies": [
    "http://user:pass@proxy1.example.com:8080",
    "http://user:pass@proxy2.example.com:8080"
  ]
}
browser / flaresolverr — the headless services take a single upstream proxy via the CRAWLER_PROXY_URL env var (see the Environment variables reference).
Rotating residential proxies help against WAFs that score IP reputation — but for the hardest vendors (Akamai, PerimeterX) a scraping_api provider bundles proxies and anti-bot solving, which is usually more reliable than home-grown rotation.
Managed scraping API (scraping_api)
The paid rung. Vendor-agnostic — it works with any provider following the GET <service>?url=&key=&flags convention (ScrapingBee, ZenRows, ScraperAPI, …). Below is the full setup with ScrapingBee as the worked example.
1 · Create an account and get your key
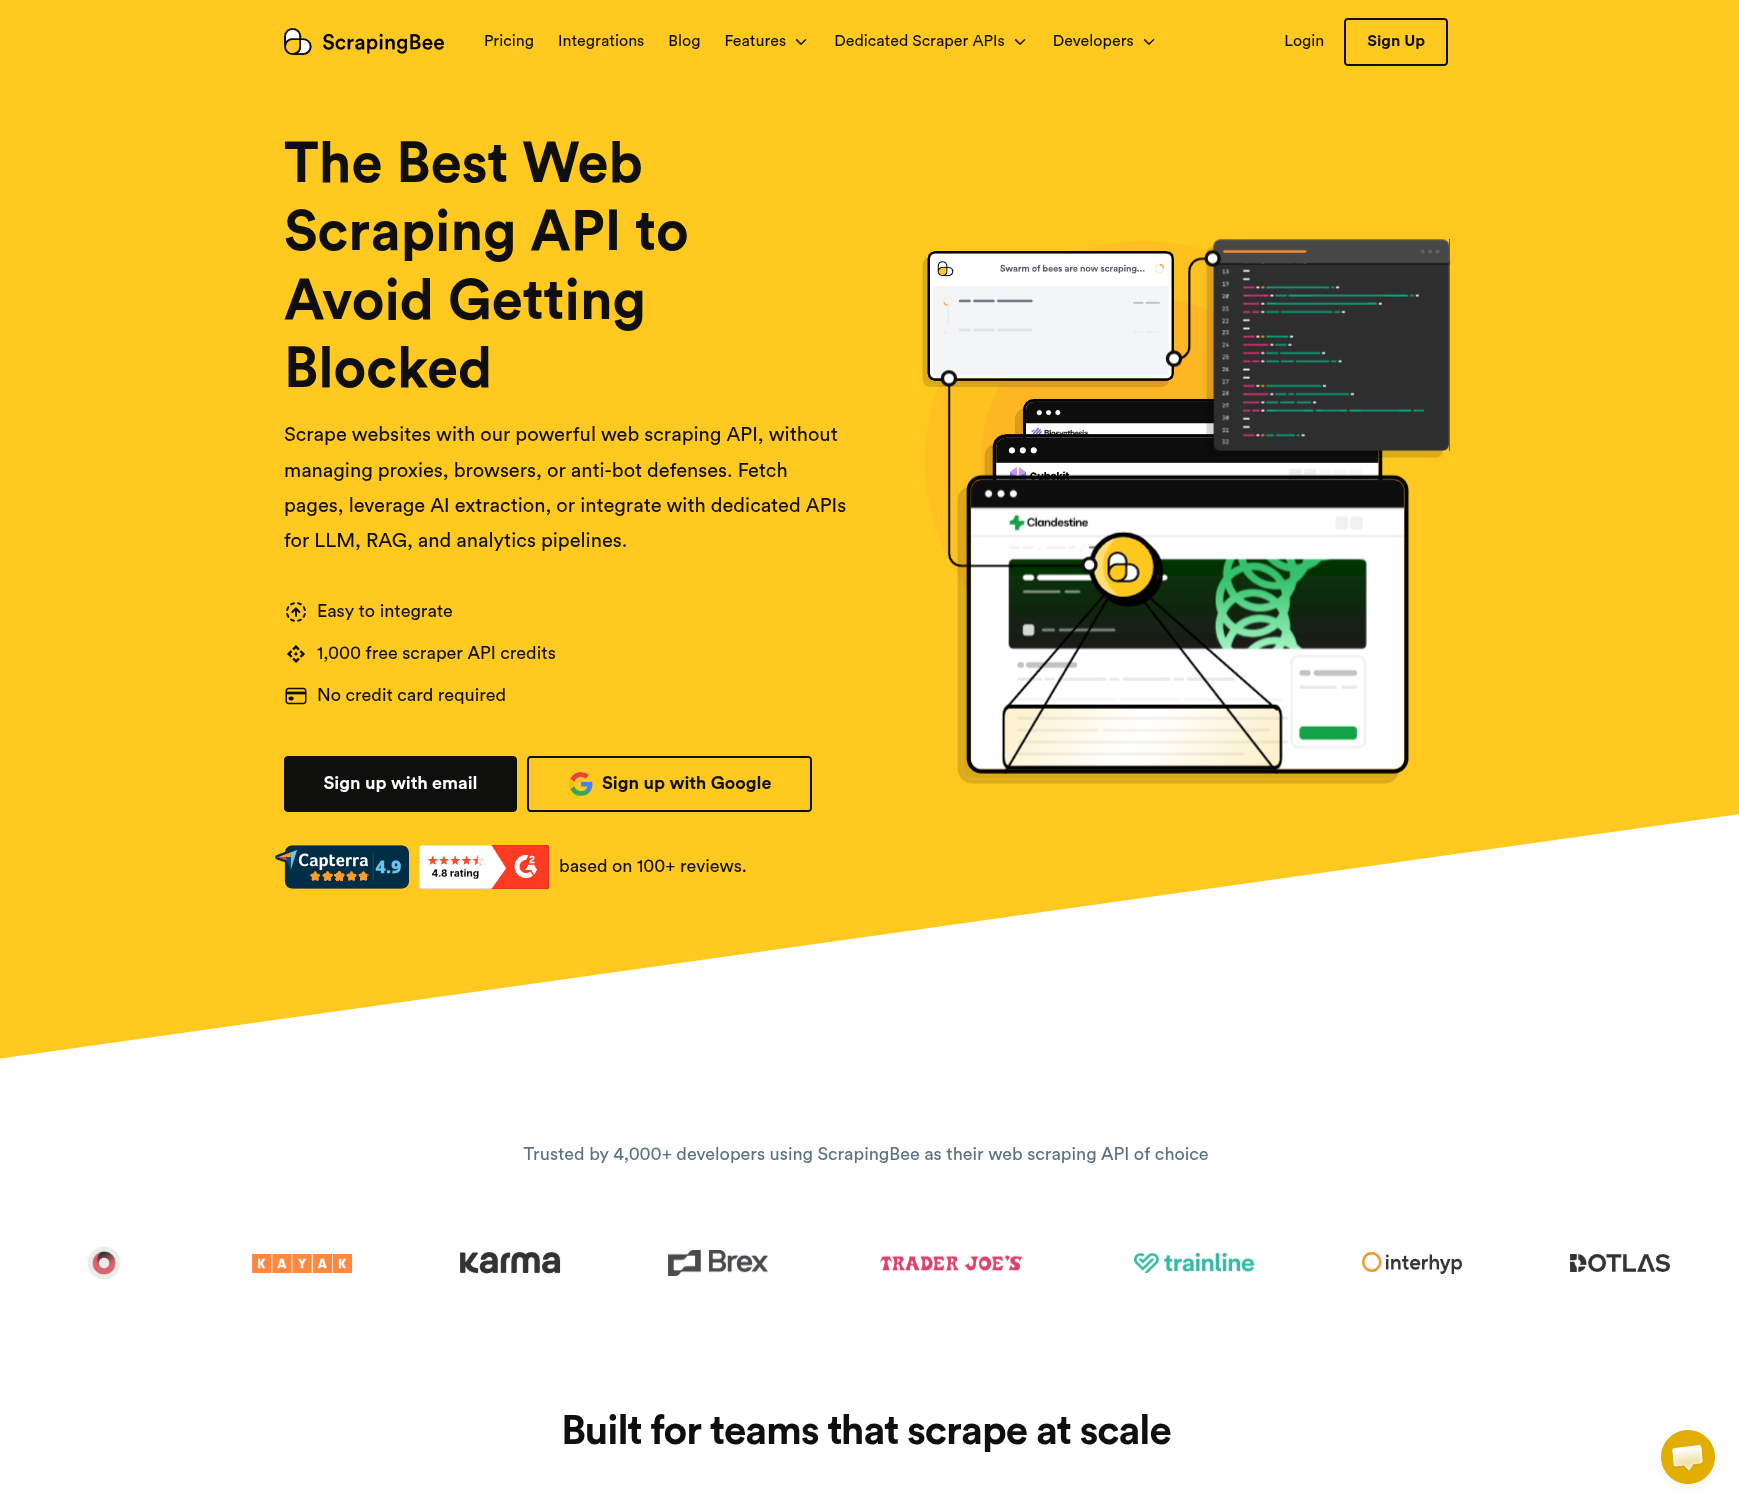
Sign up at scrapingbee.com — the free tier includes 1,000 API credits with no credit card, enough to test a robot end to end:
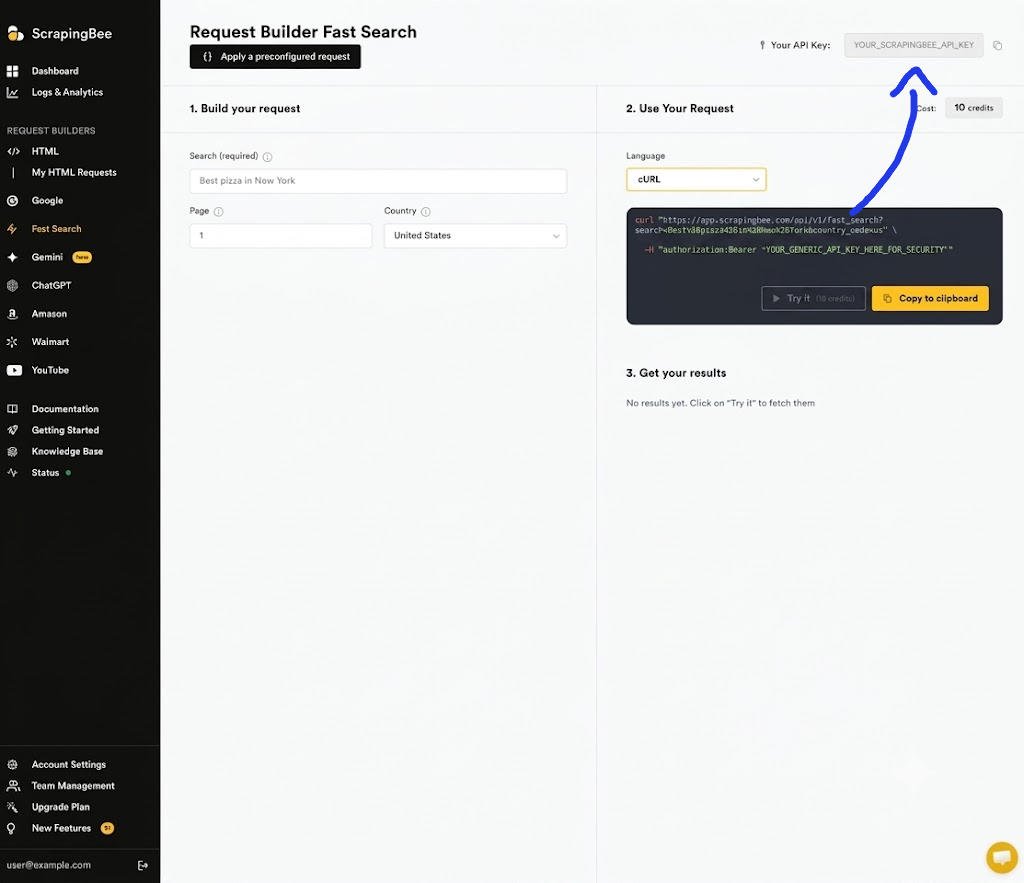
Once registered, your API key is shown at the top of the dashboard — copy it:
2 · Configure .env
Add the provider block to your Laravel .env. These values sit dormant — the paid API is not used globally; every robot keeps using its own free transport unless it was explicitly generated with --transport=scraping_api:
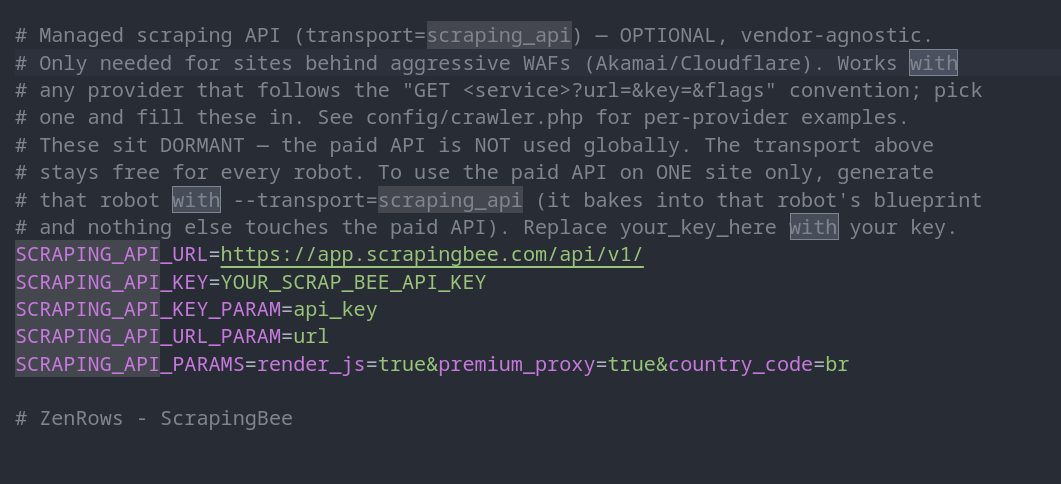
SCRAPING_API_URL=https://app.scrapingbee.com/api/v1/
SCRAPING_API_KEY=your_scrapingbee_key
SCRAPING_API_KEY_PARAM=api_key
SCRAPING_API_URL_PARAM=url
SCRAPING_API_PARAMS=render_js=true&premium_proxy=true&country_code=br
SCRAPING_API_PARAMS is passed through to the provider as-is — render_js, premium_proxy and country_code here are ScrapingBee flags; each provider has its own. Ready-made blocks for ZenRows and ScraperAPI ship in config/crawler.php.
3 · Generate a robot that opts in
Pass --transport=scraping_api at generate time to route this one robot through the paid API:
docker compose run --rm artisan datahelm:scrap:generate \
  "https://www.example-site.com" \
  --get-detail=true \
  --max-pages=30 \
  --get-primary-image=true --hash-names=true \
  --robot-name=example-site \
  --transport=scraping_api \
  --force
The generated robot's blueprint bakes the choice into http_config:
"http_config": {
    "timeout": 60,
    "delay_ms": 300,
    "retry_count": 3,
    "retry_delay_ms": 1000,
    "user_agent": "Mozilla/5.0 (Windows NT 10.0; Win64; x64) AppleWebKit/537.36 (KHTML, like Gecko) Chrome/120.0 Safari/537.36",
    "headers": [],
    "proxies": [],
    "cookies": [],
    "render_js": false,
    "browser_wait_for": "",
    "transport": "scraping_api"
}
That last line — "transport": "scraping_api" — is the whole opt-in. Every page this robot fetches now goes through ScrapingBee (https://app.scrapingbee.com/api/v1/?url=…&api_key=… plus your SCRAPING_API_PARAMS flags), so the provider handles the proxies, browser fingerprints and anti-bot solving. Every other robot still uses its own baked-in free transport, and your key is only spent where you chose to spend it.
Two things to keep in mind:
- Every request costs credits — including pagination and detail pages. That's why the example caps the crawl with
--max-pages=30;--limiton each run helps too. render_js: falseinhttp_configrefers to the crawler's own headless browser (browserless). JavaScript rendering by the provider is controlled by their flag inSCRAPING_API_PARAMS(render_js=truefor ScrapingBee) instead.
Next: Bot protection →