

Getting started
There are two ways to use DataHelm Crawler: install the package into an existing Laravel app, or run the full Docker stack from the reference environment. Pick whichever fits.
Install the package
composer require datahelm/crawler
Publish the config (optional — only if you want to tweak detectors, transports, etc.):
php artisan vendor:publish --tag=crawler-config
The package auto-registers DataHelm\Crawler\CrawlerServiceProvider. Requirements:
- PHP
^8.3 - Laravel
^11.0 || ^12.0 || ^13.0 guzzlehttp/guzzle ^7.0,symfony/dom-crawler ^7.0 || ^8.0
The default transport is plain HTTP (guzzle) and needs no extra infrastructure.
Configure your .env
Once the package is installed, add this block to your Laravel .env. Nothing here is required to get started — the package falls back to plain HTTP with no configuration at all — but setting CRAWLER_TRANSPORT=auto is what makes most protected sites work without you having to think about transports.
#--------------------------------------------------------------------------
# Crawler HTTP transport
#--------------------------------------------------------------------------
# auto | guzzle | browser (browserless) | flaresolverr | scraping_api (managed)
# 'auto' detects the protection and escalates automatically (guzzle → browser/
# flaresolverr → scraping_api), so most sites just work. Hard WAFs (Akamai/
# PerimeterX) still need a SCRAPING_API_KEY below; auto will tell you if so.
CRAWLER_TRANSPORT=auto

# Self-hosted headless browser (transport=browser)
BROWSERLESS_URL=http://browserless:3000
# BROWSERLESS_TOKEN=

# Cloudflare challenge solver (transport=flaresolverr)
FLARESOLVERR_URL=http://flaresolverr:8191
FLARESOLVERR_MAX_TIMEOUT=60000

# Managed scraping API (transport=scraping_api) — OPTIONAL, vendor-agnostic.
# Only needed for sites behind aggressive WAFs (Akamai/Cloudflare). Works with
# any provider that follows the "GET <service>?url=&key=&flags" convention; pick
# one and fill these in. See config/crawler.php for per-provider examples.
# These sit DORMANT — the paid API is NOT used globally. The transport above
# stays free for every robot. To use the paid API on ONE site only, generate
# that robot with --transport=scraping_api (it bakes into that robot's blueprint
# and nothing else touches the paid API). Replace your_key_here with your key.
SCRAPING_API_URL=
SCRAPING_API_KEY=
SCRAPING_API_KEY_PARAM=
SCRAPING_API_URL_PARAM=
SCRAPING_API_PARAMS=
Three things worth knowing about this block:
browserlessandflaresolverrare local Docker containers, not paid services. The two URLs above are the service hostnames used when Laravel runs inside the Docker network. If Laravel runs on your host machine instead, point them at the published ports:http://localhost:3010andhttp://localhost:8191.- The
SCRAPING_API_*keys stay empty until you actually need them. Leaving them blank is the normal case —autonever reaches for a paid API that has no key, and it will tell you when a site is behind a WAF that requires one. - A robot's own
--transportalways wins overCRAWLER_TRANSPORT, which is how you keep a paid API scoped to a single site.
Full variable table, including CRAWLER_COMMAND_PREFIX and CRAWLER_PROXY_URL, is in the environment reference; for choosing between transports see HTTP transports.
Quick start
# auto-detect a listing and scaffold a site robot (scaffolding is the default action)
php artisan datahelm:scrap:generate "https://example.com/listing" --get-detail=true --robot-name=example

# run the scaffolded robot, capped at 10 items
php artisan datahelm:robot:example --limit=10
A complete, public example you can run immediately (--blueprint saves a reusable JSON blueprint under the host name instead of scaffolding a robot):
php artisan datahelm:scrap:generate https://books.toscrape.com/ --get-detail=true --blueprint
php artisan datahelm:scrap:run books.toscrape.com --limit=20
For a guided, step-by-step version of this — reading the blueprint, fixing a selector, downloading images — see the books.toscrape.com tutorial.
Docker invocation
In the reference Docker stack, Artisan runs through an on-demand artisan service, so every command above is prefixed with docker compose run --rm:
docker compose run --rm artisan datahelm:scrap:generate https://books.toscrape.com/ --get-detail=true --blueprint
This documentation uses the bare php artisan … form; prefix it when running in Docker.
Run the full Docker stack
The reference environment bundles everything (nginx, PHP, PostgreSQL, Redis, Supervisor, browserless, FlareSolverr). It lives in its own public repository (enviroment, one n — that's its name on GitHub):
1. Clone the environment
git clone https://github.com/data-helm/enviroment.git
cd enviroment
printf 'UID=%s\nGID=%s\n' "$(id -u)" "$(id -g)" > .env   # containers own files as your user
The root .env only carries UID/GID, which docker-compose.yml substitutes into user: "${UID:-1000}:${GID:-1000}". It's separate from your Laravel .env, which lives in src/.
2. Put a Laravel app in src/
Every service mounts ./src as the application root, so that folder is your Laravel project. To create a new app, use the dockerized composer service — no local PHP or Composer needed:
rm src/README.md   # composer refuses to install into a non-empty directory
docker compose run --rm composer create-project laravel/laravel .
That single command leaves you with a fully configured app — Composer's post-install hooks already copied .env.example to src/.env, ran php artisan key:generate (so APP_KEY is set), and applied the default migrations. You do not need to run key:generate yourself. The only thing left is repointing it at this stack's services, which is step 4.
src/ must be empty
src/ ships with a README.md placeholder. Leave it in place and create-project aborts with Project directory "/var/www/html/." is not empty. — delete it first, as above.
Already have an app? Copy or clone it into src/ instead and skip the command above — but because none of Composer's hooks run on that path, do the two things they would have done:
cp src/.env.example src/.env                        # .env is gitignored, so a clone won't have one
docker compose run --rm artisan key:generate        # only needed on this path
Skip these and Laravel greets you with "No application encryption key has been specified."
3. Install the crawler
docker compose run --rm composer require datahelm/crawler
4. Point Laravel at the stack's services
create-project generates src/.env configured for SQLite and localhost. Neither is right here: the database is PostgreSQL, and from inside the container the services are reachable by their compose service names, not localhost. Edit src/.env:
APP_URL=http://localhost:8082

DB_CONNECTION=pgsql
DB_HOST=postgres
DB_PORT=5432
DB_DATABASE=datahelm_db
DB_USERNAME=datahelm_db_user
DB_PASSWORD=pwd

REDIS_HOST=redis
REDIS_PORT=6379
Then add the crawler transport block from above to the same file.
create-project also created and migrated src/database/database.sqlite as part of its default SQLite setup. Once you switch to pgsql it's unused — delete it so it doesn't sit around looking like live data:
rm src/database/database.sqlite
Internal ports, not published ones
DB_PORT=5432 and REDIS_PORT=6379 are the ports inside the Docker network. The stack publishes them on 5433 and 6380 on your host to avoid clashing with a local PostgreSQL or Redis — use those only when connecting from your host machine, e.g. a database GUI.
5. Start the stack
docker compose up -d
docker compose run --rm artisan migrate
The app is now at http://localhost:8082.
Common stack commands:
docker compose up -d              # start the stack
docker compose build              # rebuild images after Dockerfile changes
docker compose ps                 # status
docker compose down               # stop

# on-demand tools (profile: tools)
docker compose run --rm artisan migrate
docker compose run --rm artisan tinker
docker compose run --rm composer install
docker compose run --rm npm install
See the Docker stack reference for the full service/port table.
Why this environment?
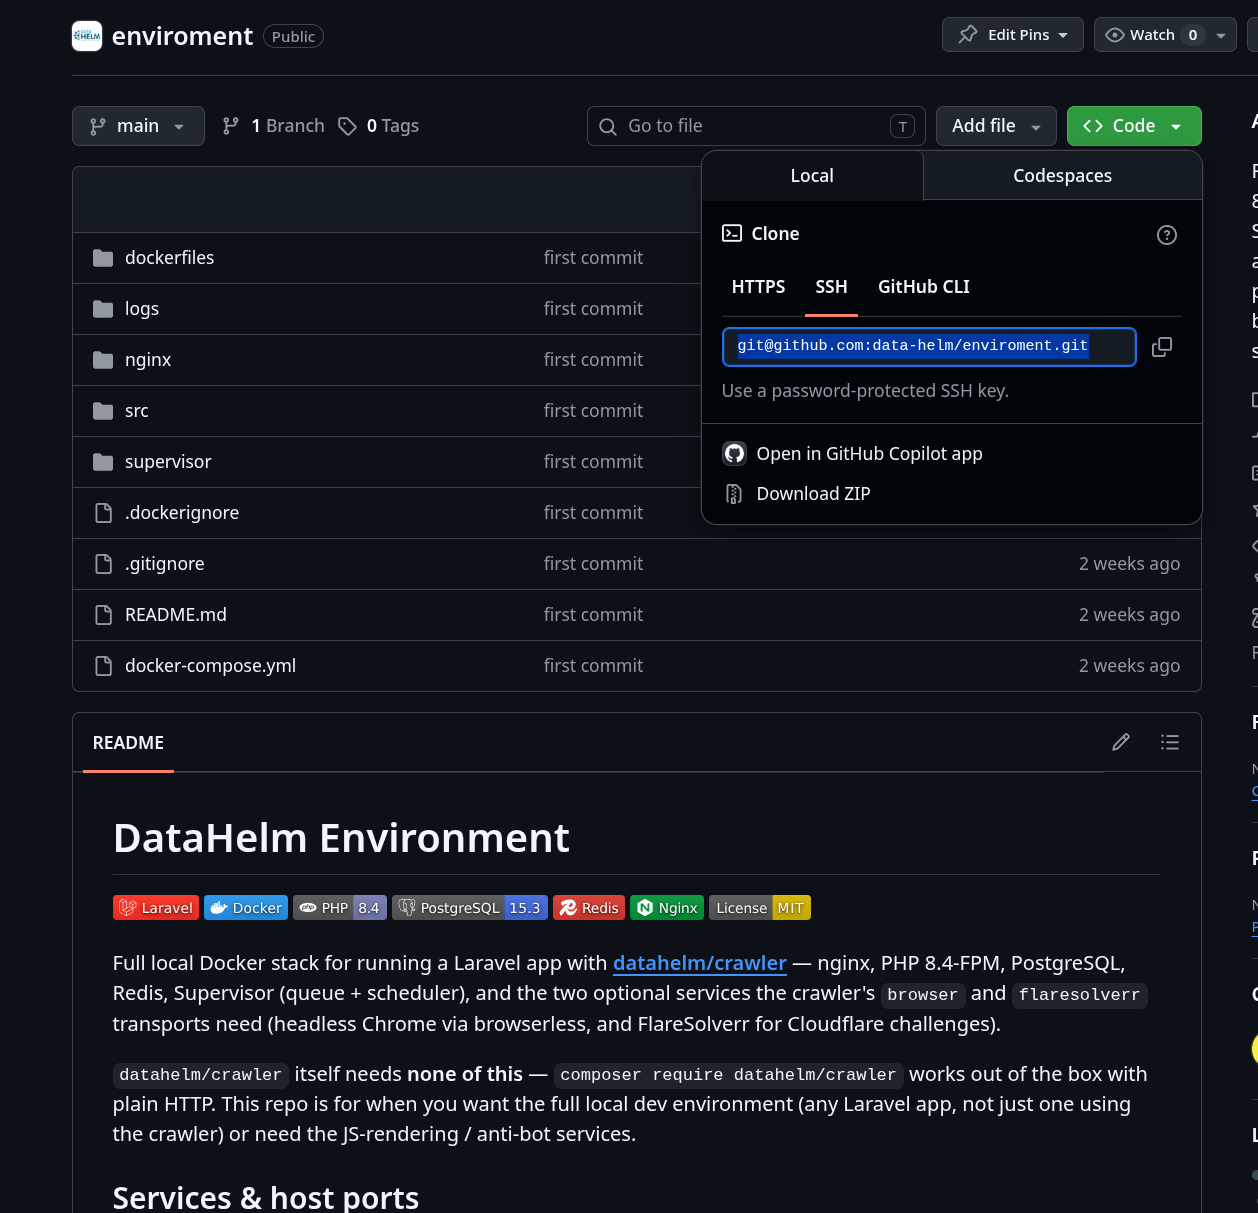
datahelm/crawler itself needs none of this — composer require datahelm/crawler works out of the box against plain HTTP. The data-helm/enviroment repository exists for a different reason: it's a ready-made local dev environment for a Laravel app (any Laravel app, not just one using the crawler), so you get nginx, PHP-FPM, PostgreSQL, Redis, and Supervisor already wired together instead of assembling them yourself. It bundles the crawler's two optional anti-bot services alongside that stack so the JS-rendering and Cloudflare-solving transports work immediately, without a separate setup step, whenever a target site needs more than a plain HTTP client.
Use it when you want a full local app stack or need the anti-bot services; if you already have your own Laravel environment, just composer require datahelm/crawler into it instead.
The two anti-bot services
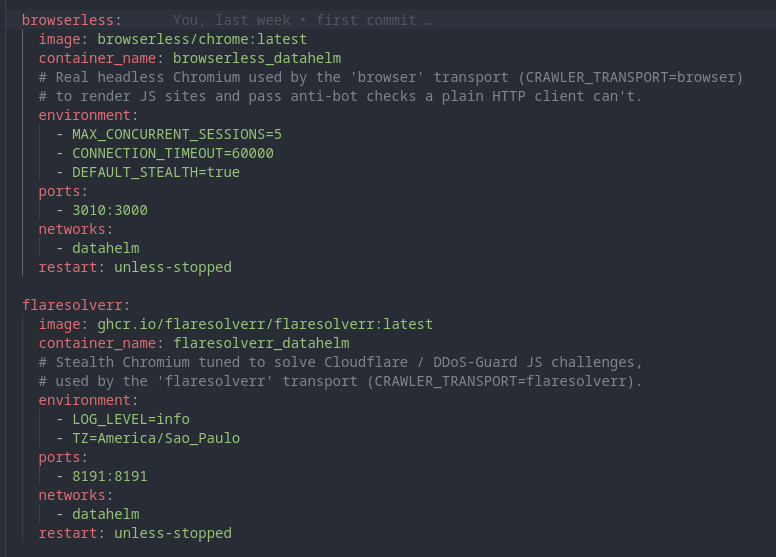
The environment includes these two services because they back two of the crawler's HTTP transports — a plain HTTP client can't do what either of them does:
- browserless (
browserless/chrome, port3010) — a real headless Chromium. Used by thebrowsertransport to render JavaScript-heavy pages and pass basic anti-bot checks that require an actual browser (cookies, JS execution, TLS/JA3 fingerprint). - flaresolverr (
flaresolverr/flaresolverr, port8191) — a stealth Chromium tuned specifically to solve Cloudflare and DDoS-Guard JS challenges. Used by theflaresolverrtransport when a site sits behind one of those.
Both run a full Chromium under the hood, so they're optional and started only when needed — see Optional: anti-bot services only below, and HTTP transports for when to pick browser vs. flaresolverr vs. auto.
Optional: anti-bot services only
If you only need headless Chrome and Cloudflare solving (not the whole stack), start just those two services from the package:
docker compose -f vendor/datahelm/crawler/docker/compose.services.yml up -d
Stop them when done — each runs a full Chromium and uses RAM/CPU:
docker compose -f vendor/datahelm/crawler/docker/compose.services.yml stop
You only need these for the browser, flaresolverr or auto transports — see HTTP transports.
Next: Core concepts →